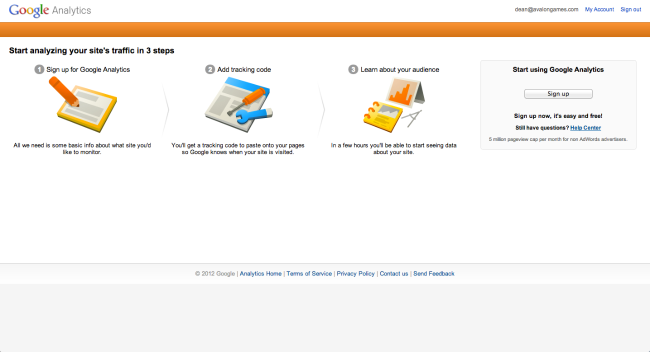
You may use Google Analytics to track and report on the usage of your dotCMS sites. This document provides step-by-step instructions on how to set up Google Analytics, and reviews several examples of Google Analytics reports which may be useful for monitoring your site.
Configuring Google Analytics
1. Sign Up for a Google Analytics Account
Visit the Google Analytics sign up page.
2. Register and Get your Tracking ID
- Register your website name, URL, Industry Category, Time Zone Information, Account Name, and Data Sharing Settings.
- Click Get Tracking ID.
- Accept the Terms of Service.
3. Copy and Save the Codes
Copy the Tracking ID and the Google Analytics code provided, and save them to a safe location. These will need to be entered into your dotCMS site (see below).
4. Add the Codes to your dotCMS Site
- Edit your dotCMS Site.
- Place the Google Tracking ID in the Google Analytics Field on the Host.
- For centralized management purposes, all site related keys should be stored on the host as a best practice.
- If you do not see one or more of these fields on your host content type, the fields must be manually added by editing the Host Content Type and adding text fields with corresponding names as shown in the image below:
5. Add the Google Analytics code into your dotCMS Site Header
- Paste the Google Analytics code into the header code on your dotCMS site before the closing
</head>tag.- It is recommended that the header code be placed in a header container that is parsed (included), on all the site templates.
Sample Header Container Code:
<meta http-equiv="content-type" content="text/html; charset=utf-8" />
<title>Sample Website Name</title>
<link rel="stylesheet" type="text/css" media="screen, projection" href="css/screen.css" />
<script src="js/jquery.js" type="text/javascript"></script>
<script src="js/scripts.js" type="text/javascript"></script>
<STYLE TYPE="text/css">
  <!--
  .indented
     {
     padding-left: 25pt;
     padding-right: 25pt;
     <ul type="disc">
     }
  -->
</STYLE>
<script type="text/javascript">
    var _gaq = _gaq || [];
    _gaq.push(['_setAccount', '<b>${esc.d}${esc.e}{host.googleAnalytics}</b>']);
    _gaq.push(['_trackPageview']);
    (function() {
    var ga = document.createElement('script'); ga.type = 'text/javascript'; ga.async = true;
    ga.src = ('https:' == document.location.protocol ? 'https://ssl' : 'http://www') + '.google-analytics.com/ga.js';
    var s = document.getElementsByTagName('script')[0]; s.parentNode.insertBefore(ga, s);
    })();
</script>
6. Ensure All Templates Use the Header
To ensure that all pages on your site are tracked, you must make sure that the Header (which now includes the Google Analytics code) is included in all your Templates.
- Open each Template.
- For Template Designer (Basic) Templates:
- Make sure the header container (from the previous step, above) is used as the header for the template.
- For Advanced Templates:
- Inside the
<head>tag, click the “Add Container” button and include the header container (from the previous step, above). It will look similar to the following (though the identifier of the container may be different):
- Inside the
<head>
    ## Container: dotCMS - Header (head)
    ## This is autogenerated code that cannot be changed
    #parseContainer('280a1aff-f6fd-496e-ba20-cb6640e3b042')
</head>
7. Verify the Google Analytics Code is Present
- Go to front end home page of your dotCMS site.
- View source in your browser.
- Verify the Google Analytics code is present in the page header.
8. Verify that Statistics are Being Collected
Wait 24 hours and revisit Google Analytics. Statistics and reports should now be viewable on the Google Analytics account.
Example Reports
The following screenshots are examples of only a few of the Standard reporting options included in Google Analytics.
Site Visitation
Display and filter:
- New Visits
- Avg. Visit Duration
- Bounce Rate
- Pages/Visit
- Pageviews
- Unique Visitors
- Visits


